


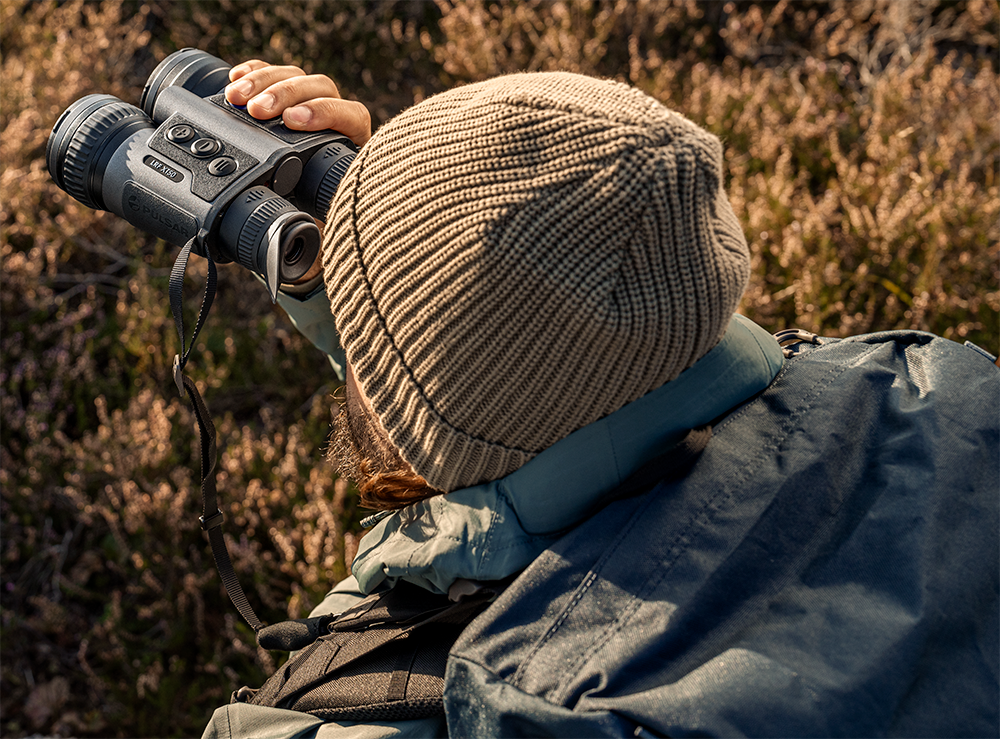
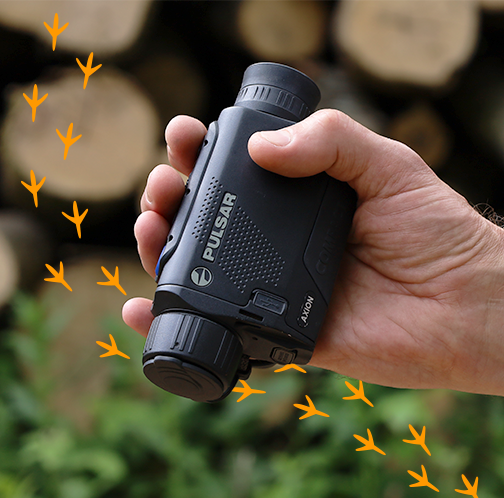
Capturing breathtaking animal and bird footage requires two critical components: being in the right place at the right time and correctly adjusting your device settings. While the former involves patience and skill, the latter is entirely within your control. With these tips, you can produce crisp, professional footage using your Pulsar device, perfect for sharing with fellow nature observation enthusiasts and wildlife watchers.
1. Focusing and framing the perfect scene
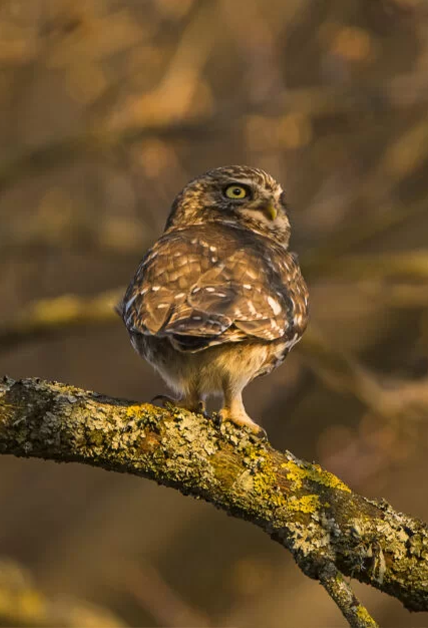
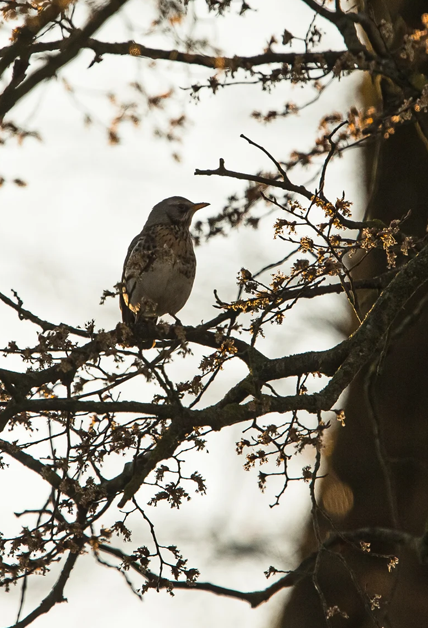
Whether you’re documenting intricate animal behaviors or enjoying a quiet moment birdwatching, sharp focus is essential for high-quality footage. Here’s how to achieve it:
- Step 1: Spot the bird or animal you want to capture during your wildlife watching session.
- Step 2: Adjust focus using the base magnification to sharpen details like feathers or fur.
- Step 3: Fine-tune the focus with higher magnification or picture-in-picture mode for even greater precision.
Remember, animals rarely stay still, so be ready to make quick adjustments to the focus ring based on their movement and distance.
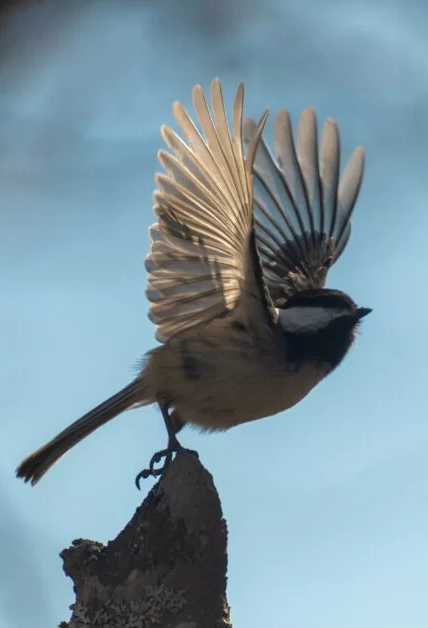
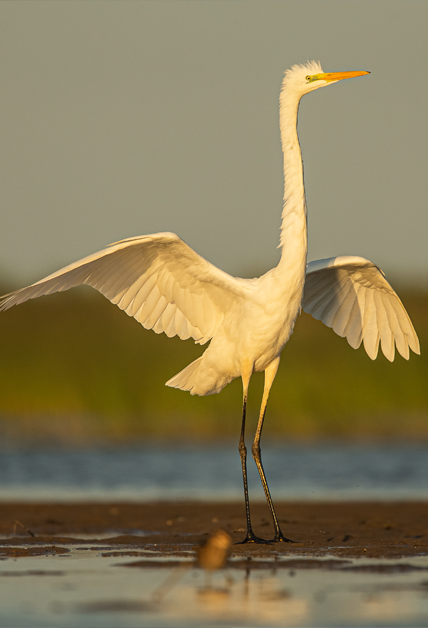
For better composition during your nature observation, wildlife photographer Magnus Winbjörk advises: “Leave more space in front of the bird or animal, especially in the direction it’s moving. This creates depth and avoids a cramped frame, helping you capture natural animal behaviors.”
2. Optimizing filters and compression settings
Some default device settings can interfere with capturing vivid wildlife watching moments. Adjust these to ensure clear, lifelike footage:
- Turn off the “Smoothing” filter: this ensures sharper images by removing unnecessary softening effects. Look for a “wave” icon in the status bar to check if it’s active.
- Use the correct amplification mode: Select “Normal” (N) for most conditions. For humid environments, try “High” (H). Avoid “Ultra” (U) mode for better video quality when observing animal behaviors or fast movements.
- Disable video compression: turn off compression in the main menu for higher resolution footage. This ensures your recordings look stunning on larger screens, such as laptops or monitors.
3. Choosing the right color palette for nature observation
The color palette you use can dramatically enhance your wildlife and birdwatching videos.
- “White-Hot” Palette: Ideal for showcasing intricate details in both birds and their habitats.
- “Black-Hot” Palette: Great for observing animal behaviors in rainy or humid conditions, where white noise may obscure details.
Fine-tune brightness and contrast settings to further highlight the unique features of the wildlife you’re watching.
4. Ensuring a stable image for wildlife watching
Stability is crucial for professional-looking wildlife footage, especially when filming delicate animal behaviors.
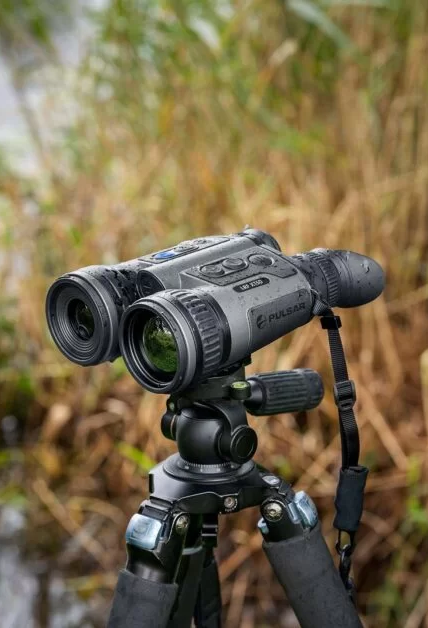
- Use a tripod: Many Pulsar devices, such as the Merger and Telos LRF, are compatible with specific adapters for improved stability.
- Plan your movements: Practice zooming, using picture-in-picture mode, or operating the laser range finder (LRF) to keep your footage smooth.
Pro tip: Use the Stream Vision app to control settings remotely without disturbing your setup.
Photographer Magnus Winbjörk recommends a simple technique to reduce shakiness during wildlife watching: “Lock your elbows to your sides and twist your upper body smoothly to follow the subject. This helps you capture fluid movements and natural animal behaviors.”
4. Ensuring a stable image for wildlife watching
Planning ahead during your nature observation sessions makes editing easier and ensures seamless footage:
- Start recording immediately after sensor calibration. Short-press the “On/Off” button to begin once the shutter sound stops.
- Wait for 2 seconds before moving your device to ensure smoother transitions.
- Similarly, allow 2 seconds of stillness before stopping the recording.
These small adjustments can greatly enhance the professionalism of your birdwatching videos.
Read more…
Then & Now: How the Pulsar Axion Series Has Evolved
Pocket-sized & Powerful: Why the Axion Compact is a Must Have for Birdwatching

7 Reasons to Choose the Pulsar Merger LRF XT50 for Bird Watching

Small but Mighty: Reviewing the Axion Compact Series

Uncompromising Image Quality: Pulsar Merger LRF XT50

4 Tips for Enhancing Bird Watching with Pulsar Thermal Imaging Devices

Made in Europe: Why is it Important and Should it Matter to You?

NETD vs. sNETD: Understanding the Terminology

Pro Tips for Capturing Stunning Wildlife Footage
